Emergency Roof Tarping in Memphis, TN

Table of Contents
Emergency Roof Tarping in Memphis, TN
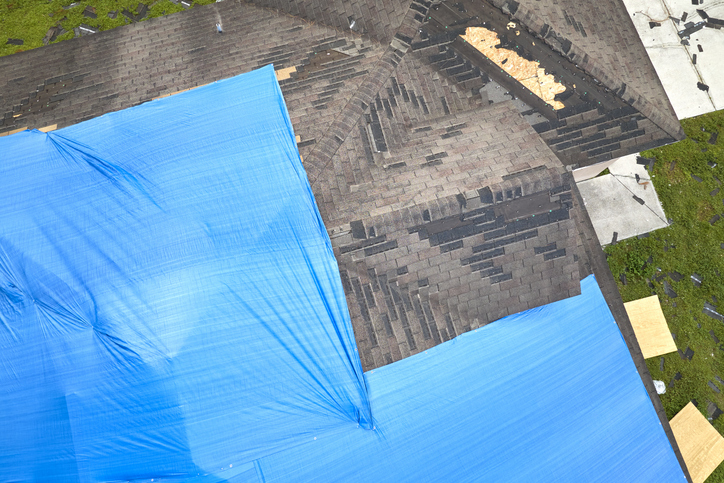
Memphis is no stranger to bad weather, and a particularly rough storm can do anything from pull off a few shingles to leave a gaping hole in your roof. In an emergency, tarping your roof can help mitigate damage to your home.
We recommend leaving this to the professionals if at all possible. However, if you’re curious what the process is, keep reading, and we’ll take a look at the roof tarping process from start to finish.
Key Takeaways: Emergency Roof Tarping
Emergency roof tarping is a temporary solution to protect damaged roofs from further exposure to the elements until permanent repairs can be made.
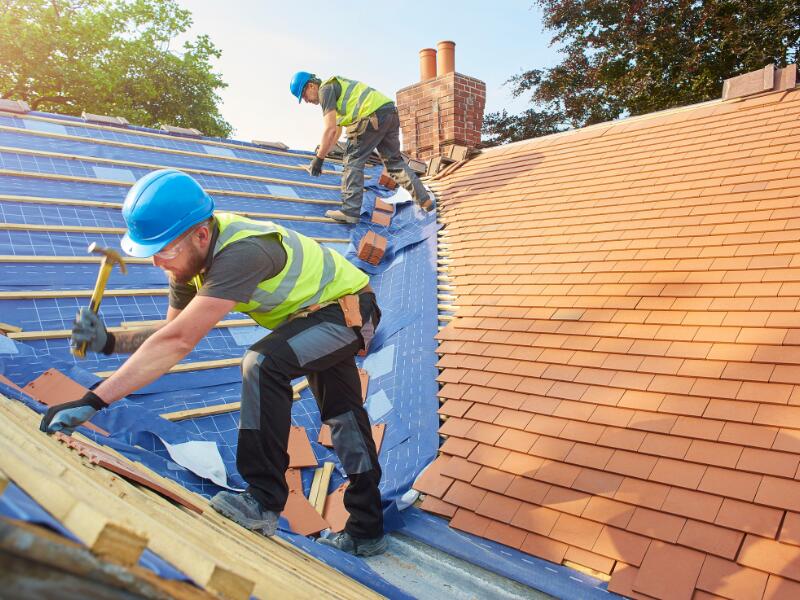
Safety precautions for tarping your roof include wearing protective gear, using a sturdy ladder, and having a partner assist with tools and materials.
The tarping process for roof damage involves assessing the extent of the damage, securing the proper safety equipment, clearing debris, taking pictures of the damage, measuring the affected area, applying plywood if necessary, choosing the right tarp material, and installing the tarp on the roof.
While many tarps have a usable life of three months, it’s best to get your roof fixed as soon as possible.
What is Emergency Roof Tarping?

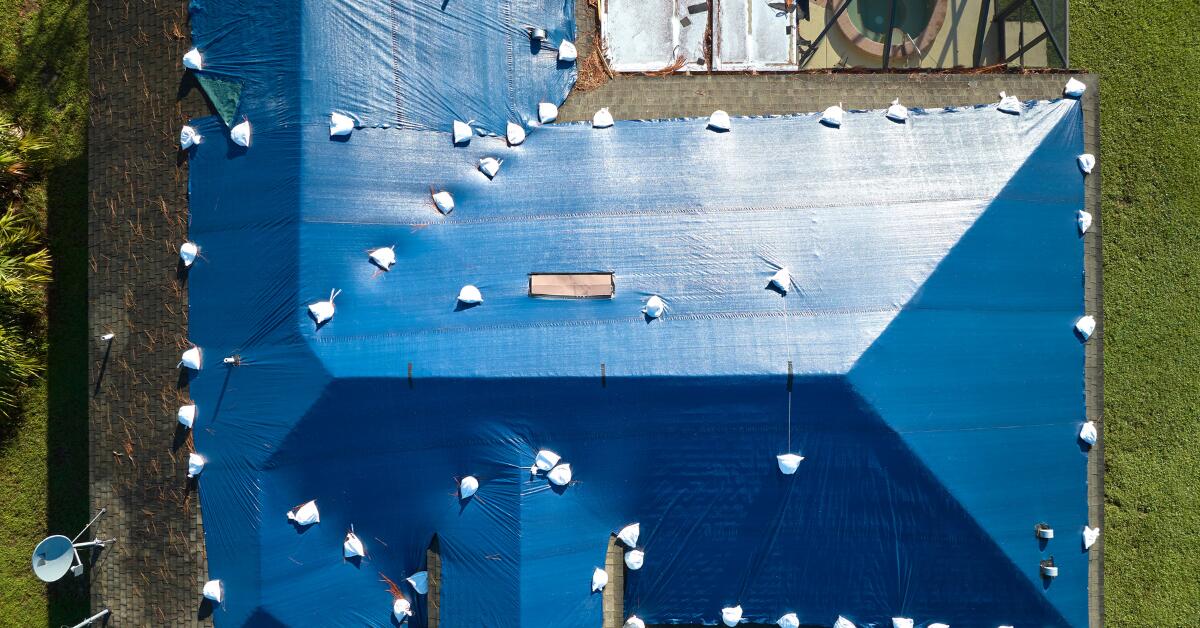
Tarping is a quick and efficient way to protect your home after a storm has compromised your roof. It involves placing a waterproof tarp over the affected area to prevent further damage to your property. This temporary solution is vital for keeping the elements out until a permanent repair can be made.
Should You Tarp Your Roof Yourself?
In the event of an emergency, it might seem like a good idea to tarp your roof yourself. However, we don’t recommend this for a few reasons:
Safety
The first and most important reason is safety. Being slippery from rain or even having structural problems if enough damage has occurred are all things to consider in regards to tarping your roof yourself.
Cost
Second is cost. If you don’t already have a tarp on hand or a way to secure it to your roof, it might be more cost-efficient to hire someone from the beginning.
The Emergency Roof Tarping Process

While we recommend hiring a roofing contractor to avoid injuring yourself or risking more damage to your home, we understand you may want to learn how the process works. This is what we do to ensure your home is protected until permanent repairs can be made.
1. Assessing the Damage Before Tarping
First, we evaluate the extent of the damage to your roof. We walk around the home’s perimeter, noting any damage from the ground. It may also be necessary to get a closer look; a good, sturdy ladder (and a buddy to steady it) are important here. We may even use a drone in some cases. Checking the attic for water damage will also make sure any problem spots from the outside aren’t missed.
2. Equipment Check
Next up, we double-check our safety equipment: gloves, heavy boots, and safety glasses. If the roof appears highly compromised from the initial inspection, a safety harness might also be necessary to continue.
3. Clear Debris
Before placing the tarp, it’s necessary to clear any debris, such as branches or leaves, from the roof.
4. Take Pictures of the Damage
Pictures are important for filing insurance claims. It’s best to take more pictures than less, from as many angles as possible.
5. Measure the Area for Tarping
Once the damage is assessed, we measure the affected area to determine exactly how much area needs to be covered.
6. Apply Plywood Sheet if Necessary
If the damage is extensive enough, we may apply a sheet of plywood over the damaged area before tarping.
7. Choose the Right Tarp For the Job
The most commonly used tarps for roofing are made of polyethylene or vinyl. Polyethylene is good for most situations to keep water out, and the thickness chosen depends on how long the tarp may be installed. Vinyl tarps are another good option and add a little extra weather protection to keep the cold out.
8. Position and Install the Tarp
Securing the tarp is the vital last step in the emergency tarping process. Starting from the roof’s peak, we unroll the tarp and extend it down the roof. The tarp should cover the ridge and extend approximately three to four feet past the affected area. If it doesn’t cover the ridge, water can easily seep under the tarp, and extending a few feet past the damage helps keep water from working its way underneath the tarp. Even better, extending the tarp past the roof overhangs ensures water will roll off the tarp and not work its way underneath in windy conditions. We wrap the ends of the tarp with plywood to give a strong base to nail or drill into. Nailing into the tarp without the boards could cause tearing. Some tarps though have self-adhesive backings, and don’t need boards to secure them.
How Long Does a Roof Tarp Last?
Roof tarping is of course a temporary solution, and most roofing contractors recommend not leaving a tarp on for more than three months. However, the life of the tarp can vary based on the material (some tarps are good for up to a few years). Ultimately though, it’s best to fix the roof as soon as possible.
Chase Roof Inspections: Your Trusted Partner for Emergency Roof Tarping in Memphis

Don’t wait to call in the professionals. Chase Roof Inspections is your local Memphis neighbor for roofing emergencies. Our team of certified, trained roofers is available 24/7 for the entire Mid-South, arriving on the spot when you need us most to provide safe, reliable tarping services.
With over 20 years of experience, we’re equipped to handle any type of roofing issue you may have. From roof replacement to managing insurance claims, our roofing company delivers quality work and great service in a timely manner. We fulfill all your roofing needs with stellar job execution and detailed reports for insurance adjusters. Call today at (901) 907-3666 or fill out our contact form.
Emergency Roof Tarping FAQs
Will insurance cover my roof damage costs?
Yes, your homeowner’s insurance should cover your repair or replacement costs, as long as the damage is due to harsh weather. It’s important to get in touch with your insurance company as soon as possible after a storm hits to learn what your next steps should be.
How much does it cost to tarp a leak in a roof?
The cost to tarp a roof leak can vary depending on the size of the area and the severity of the damage. At Chase Roof Inspections, we offer free estimates to give you an accurate pricing assessment, ensuring that you receive the best services tailored to your needs and budget.
What can I use instead of tarping my roof?
While tarping is the most common method for temporary roof protection, in some cases, you might use heavy-duty plastic sheeting or emergency roofing felt as alternatives. However, these are also temporary measures, and a professional inspection is recommended to determine the best course of action.


